
How To Photograph the Northern Lights in Iceland
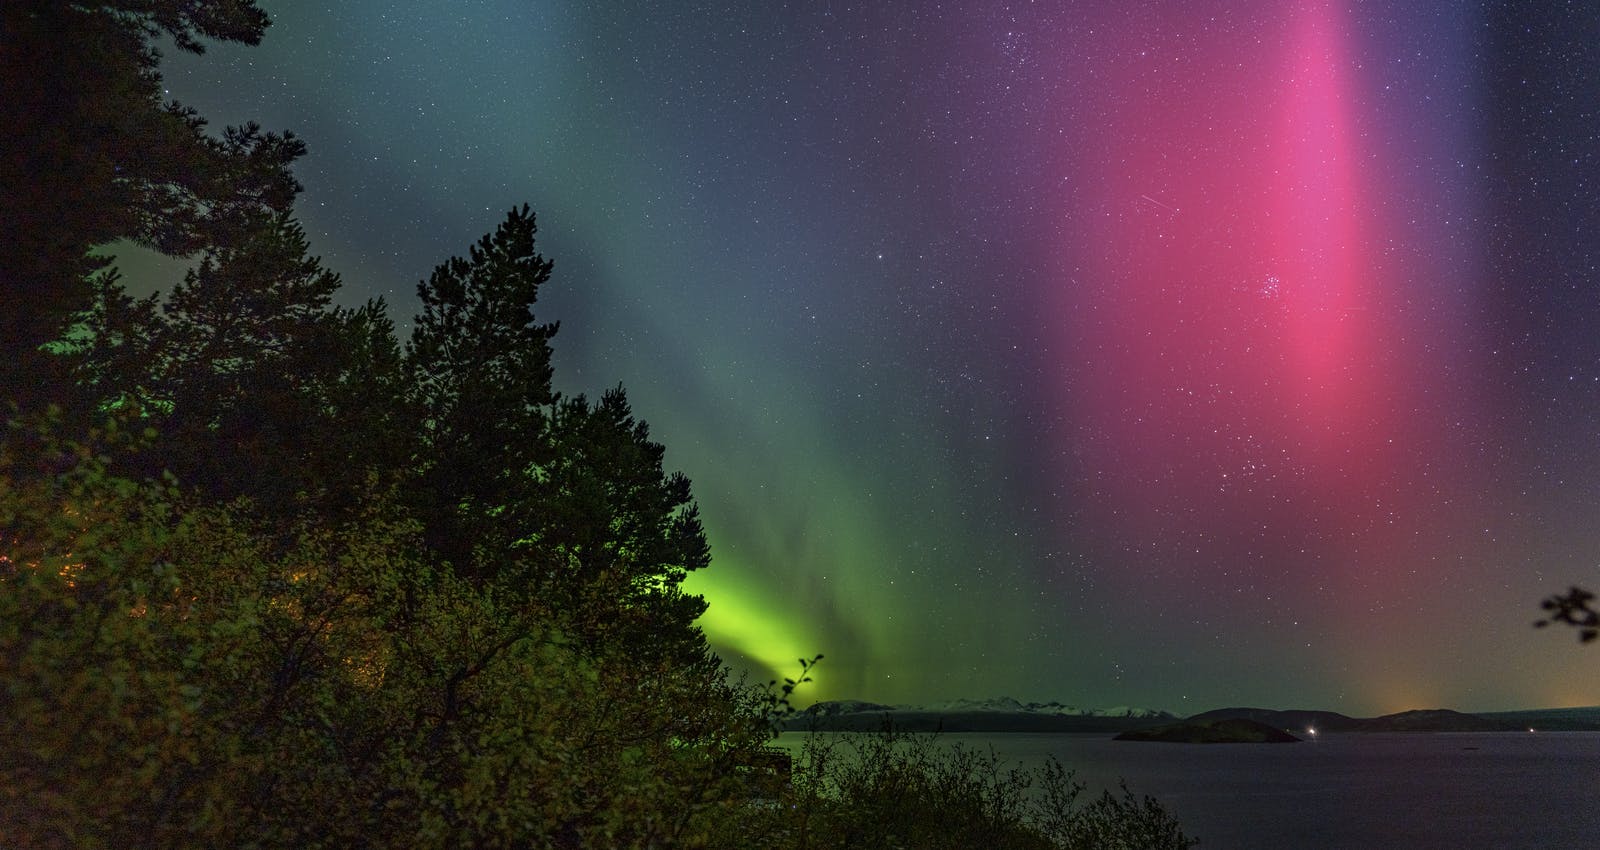
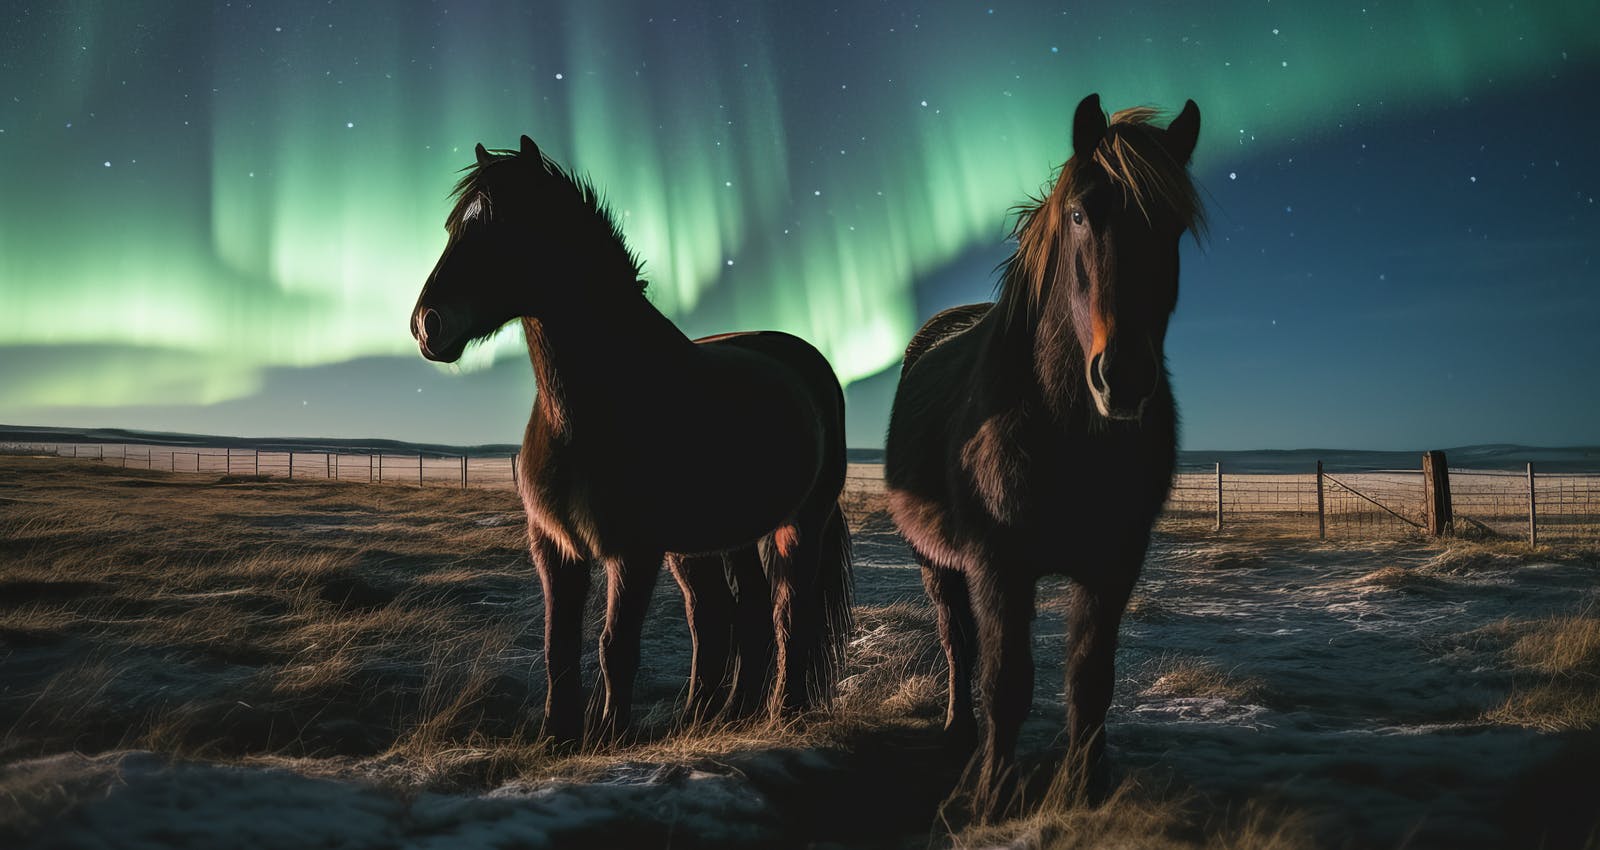
One of the top reasons to come to Iceland in winter is the hope of seeing the Northern Lights. This natural phenomenon is as magical as it is unreliable. Sometimes, you can get lucky and be treated to a vivid and long-lasting display of green and purple lights in the night sky.
Other times it's a real "blink it, and you'll miss it" affair, while if you're really unfortunate, they might not show up at all. But that's part of the appeal because if you do see them, you know you've just witnessed something very special indeed.
While the Northern Lights are a must-see in Iceland, another astronomical event will make 2026 even more special. The Solar Eclipse 2026 in Iceland will be a total eclipse visible from Reykjavík, offering a rare chance to experience both phenomena in one destination.
As with all remarkable experiences, we like to record them for posterity, but how do you photograph the Northern Lights in Iceland?
Get Yourself Kitted Out
Before you do anything, you'll need to assemble the gear you need. First, make sure you're suitably dressed. The Northern Lights show up most reliably between September and April, often late into the evening. Suppose it's going to be dry (clouds and Northern Lights definitely don't go together). In that case, you are very likely to feel the cold as you'll probably be standing around for considerable periods in exposed locations.
Make sure you have a windproof outer layer and, underneath, a thermal base layer. In between, you'll need to have some decent warm-weather gear, such as a high-performance fleece or one of those iconic Icelandic sweaters known as lopapeysas. Keep your head warm with a good hat, and wrap a scarf around your neck.
You'll also want gloves, but as you'll need to operate a camera, you'll either need to opt for fingerless varieties or gloves that can easily be taken off and on. Lastly, remember your feet: as well as a pair of decent socks (perhaps two!), you'll need a decent pair of hiking boots with a thick sole for insulation against the cold and a good grip. Check out the full guide on what to wear and bring on a Northern Lights hunt.
Prepare Your Equipment
Make sure your phone or camera is fully charged. It is important that your equipment is completely still when photographing the northern lights. We recommend investing in a sturdy tripod to keep your camera/phone stable during long exposures. Also, consider using a remote shutter release or the built-in timer to minimise camera shake.
Location, Location, Location
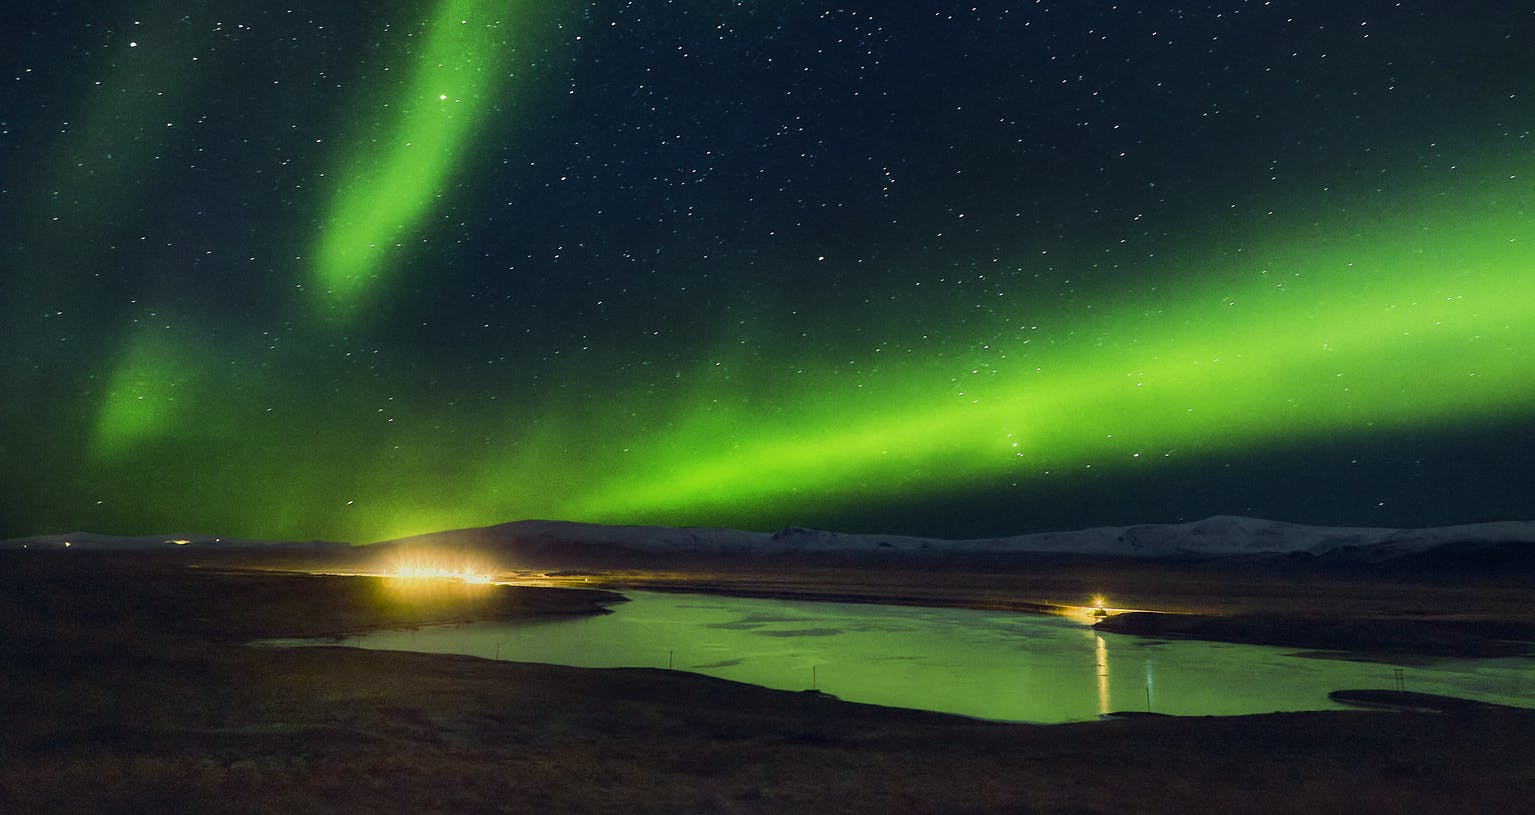
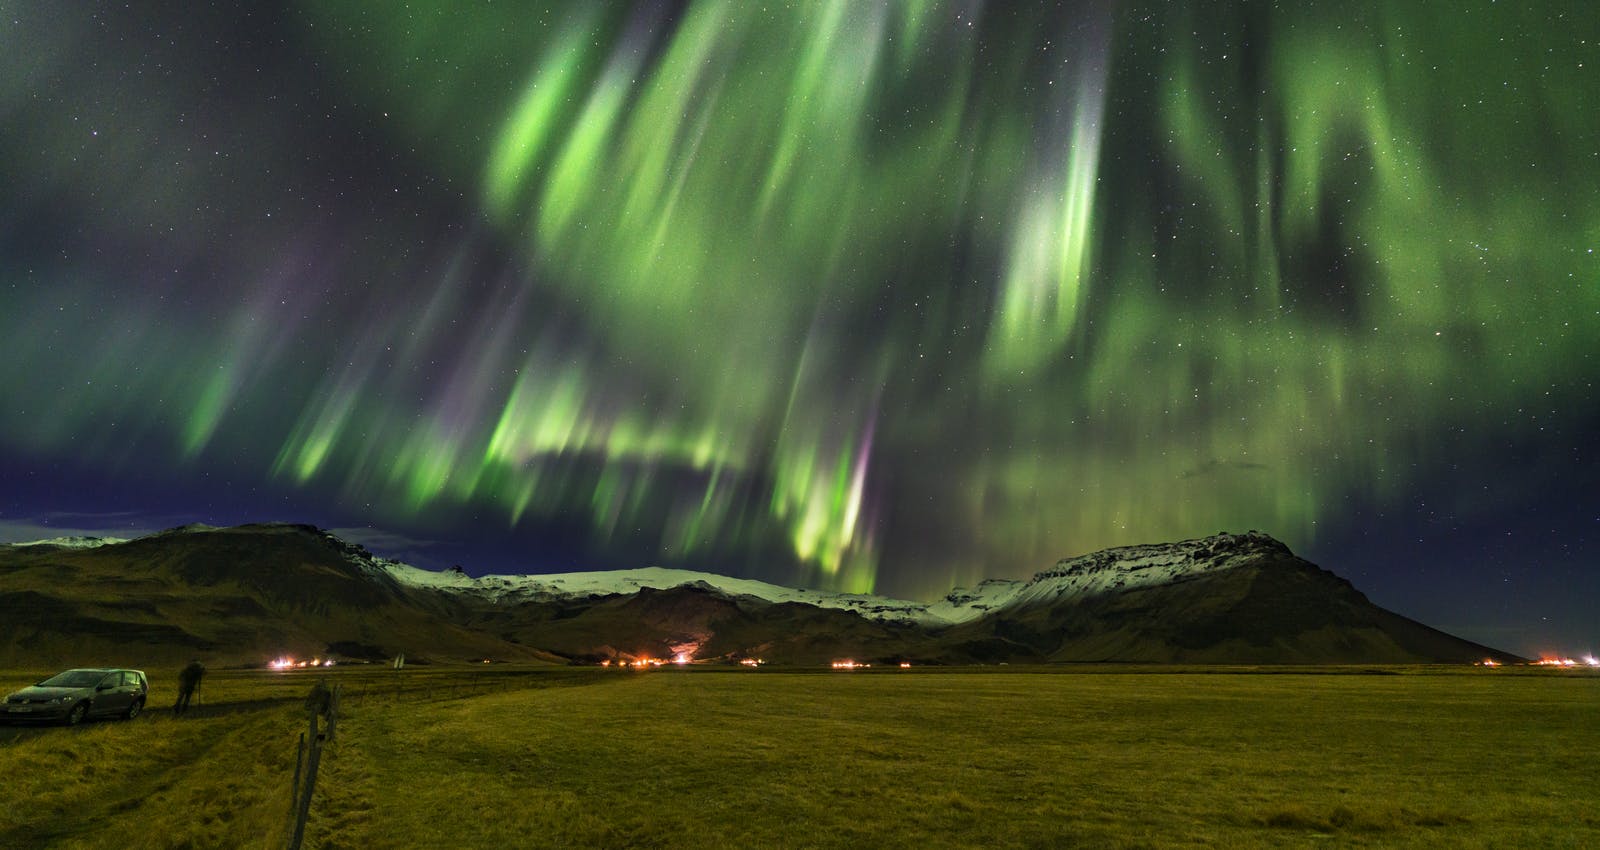
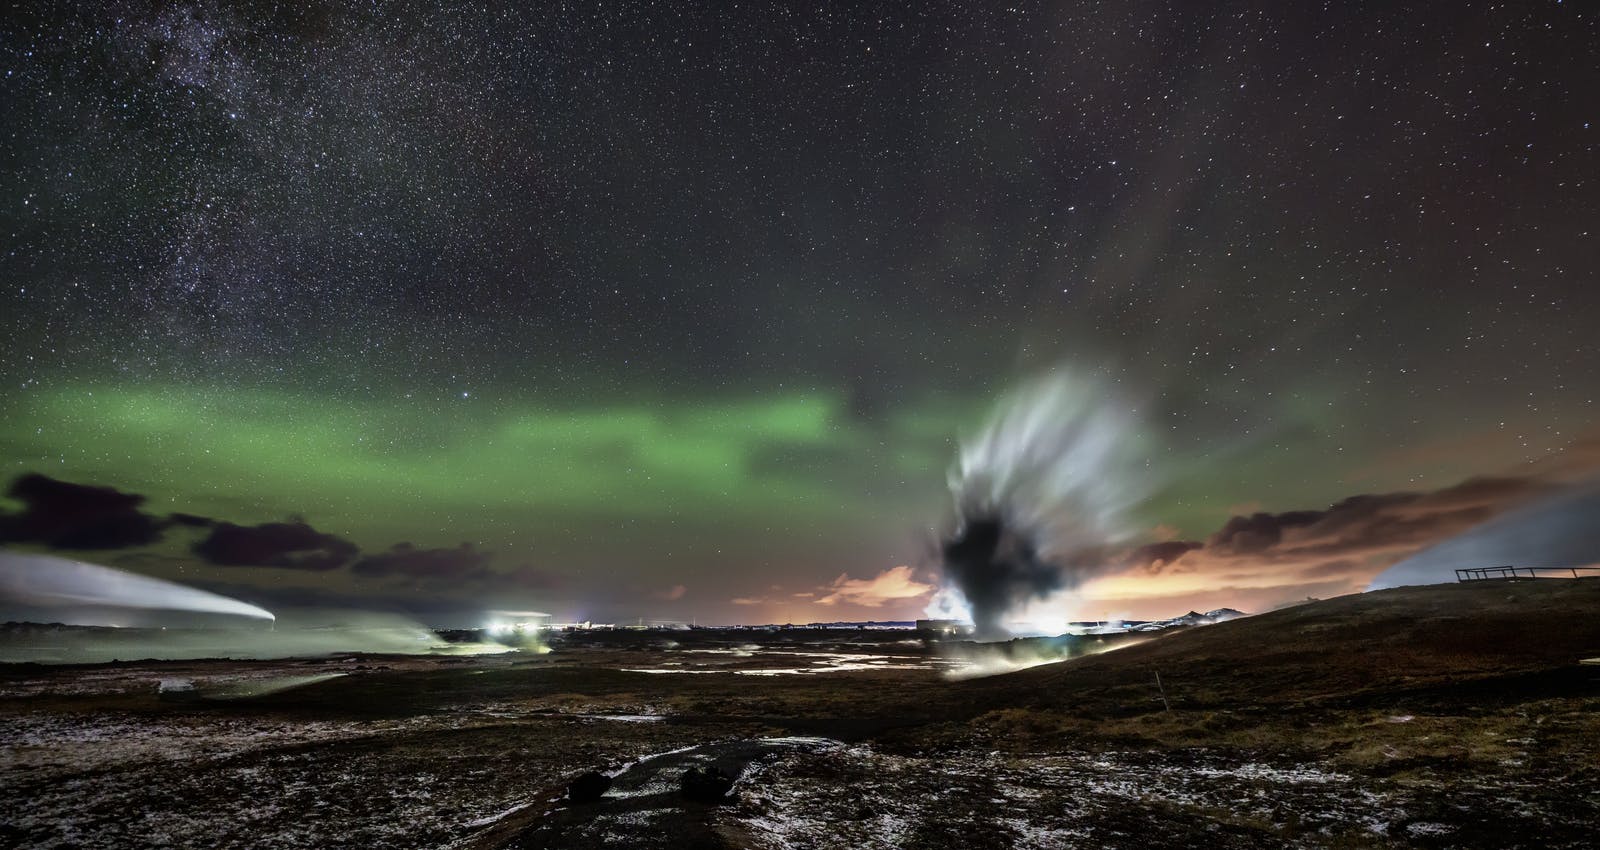
If you are lucky enough to witness very strong auroral activity, then you'll be able to see it even in cities like Reykjavik. However, you're going to need to find a dark spot in the countryside away from light pollution. Here are some of the best places to see the northern lights Iceland.
It's easier to focus on a foreground object when trying to capture an image of the Northern Lights, so choose somewhere that has a bridge, building – perhaps one of Iceland's lighthouses – mountain, iceberg, fjord or beach nearby. Learn a little about them before you set out at Áróra, a planetarium show located in Perlan.
Capture the Northern Lights on Your Device
Capturing the Northern Lights on your phone can be a bit challenging due to the device's limited low-light capabilities, but with the right approach and apps, it's possible to get good results. Follow these steps:
- Set the focus to infinity (∞) or manually focus on a distant object to ensure the Northern Lights are sharp.
- Set the ISO between 1600 and 3200 for a balance between sensitivity and noise.
- Set the shutter speed between 1 and 25 seconds, depending on the intensity and movement of the lights and how sensitive your camera and lens are.
- Adjust the white balance to a cooler temperature (around 4800K) to better capture the colours.
Today, most people have a smartphone, which is enough just to point and shoot.
iPhone vs Android
Photographing the Northern Lights on a Samsung/android and iPhone with some differences in available apps.
Phone cameras may not provide enough control for photographing the Northern Lights, so we recommend downloading a manual camera app. They allow for advanced settings like shutter speed, ISO, and focus. For instance:
- iPhone: NightCap, ProCamera, or Halide
- Android: Camera FV-5, ProCam X, or Open Camera
Post-processing is key to great photos of the northern lights. Use photo editing apps like Lightroom or Snapseed to enhance your images by adjusting exposure, contrast, and colour balance. You can also reduce noise and sharpen your images if needed.
Capture the Northern Lights With a Camera
The best Northern Lights photographs have been taken using a long exposure, so a camera where you can make manual adjustments is a bonus. It's also handy to be able to manually focus the lens as the automatic focus will struggle to latch onto this moveable subject in low light conditions many times. You might want to download a specialist app if you're carrying a smartphone.
Camera shake is not your friend when you are photographing the Northern Lights. Consider using the self-timer function, so you don't have to touch the camera while it's capturing the image. Another option is to use a remote shutter release; again, you're less likely to move the camera when pressing down on the shutter. If you don't have one, be very slow and deliberate with your movements.
Pop at least one spare battery into an inside pocket as cold weather drains batteries surprisingly fast. A decent tripod is essential too. In Iceland's winds, a sturdy tripod is less likely to shake, and although you might still need to hold it, the extra weight is going to make it much easier to keep steady. Remember that airlines impose different weight limits, so think about how heavy your tripod is, particularly if you intend to travel with cabin baggage only.
Play around with the settings, but in general, you're going to need to get plenty of light into the camera. Try a small aperture setting like f/1.4 to f/3.5, or increase the ISO – anywhere between 800 and 3200 might work, although some cameras have such low noise levels that you can use even higher ISO. A longer exposure will allow time for the colours to develop, which is why pictures often seem more vibrant than the Aurora Borealis does to the naked eye.
Photographing the Northern Lights FAQ
How do you photograph the northern lights for beginners?
Use a tripod, set your camera to manual mode, adjust ISO to 1600-3200, shutter speed between 1-25 seconds, and set focus to infinity for sharp images.
Can you take pictures of the northern lights with a phone?
Yes, with the right approach and apps, you can capture the Northern Lights using your smartphone.
What camera settings are needed for Iceland?
Set the aperture to f/1.4-f/3.5, ISO between 800-3200, and use a long exposure time to capture more light and vivid colours.
How do you photograph the northern lights in Iceland?
Find a dark spot away from light pollution, use a tripod for stability, adjust camera settings to capture enough light, and use a remote shutter release to avoid camera shake.
What not to do with northern lights?
Avoid using automatic camera settings, touching the camera during a shot, and photographing in light-polluted areas.
Do you need a special camera for the northern lights?
No, but a camera with manual settings and a long exposure mode produces the best results.
Do northern lights look better in photos?
Yes, long exposure settings in photography often capture more vibrant colours than what is visible to the naked eye.
Popular articles
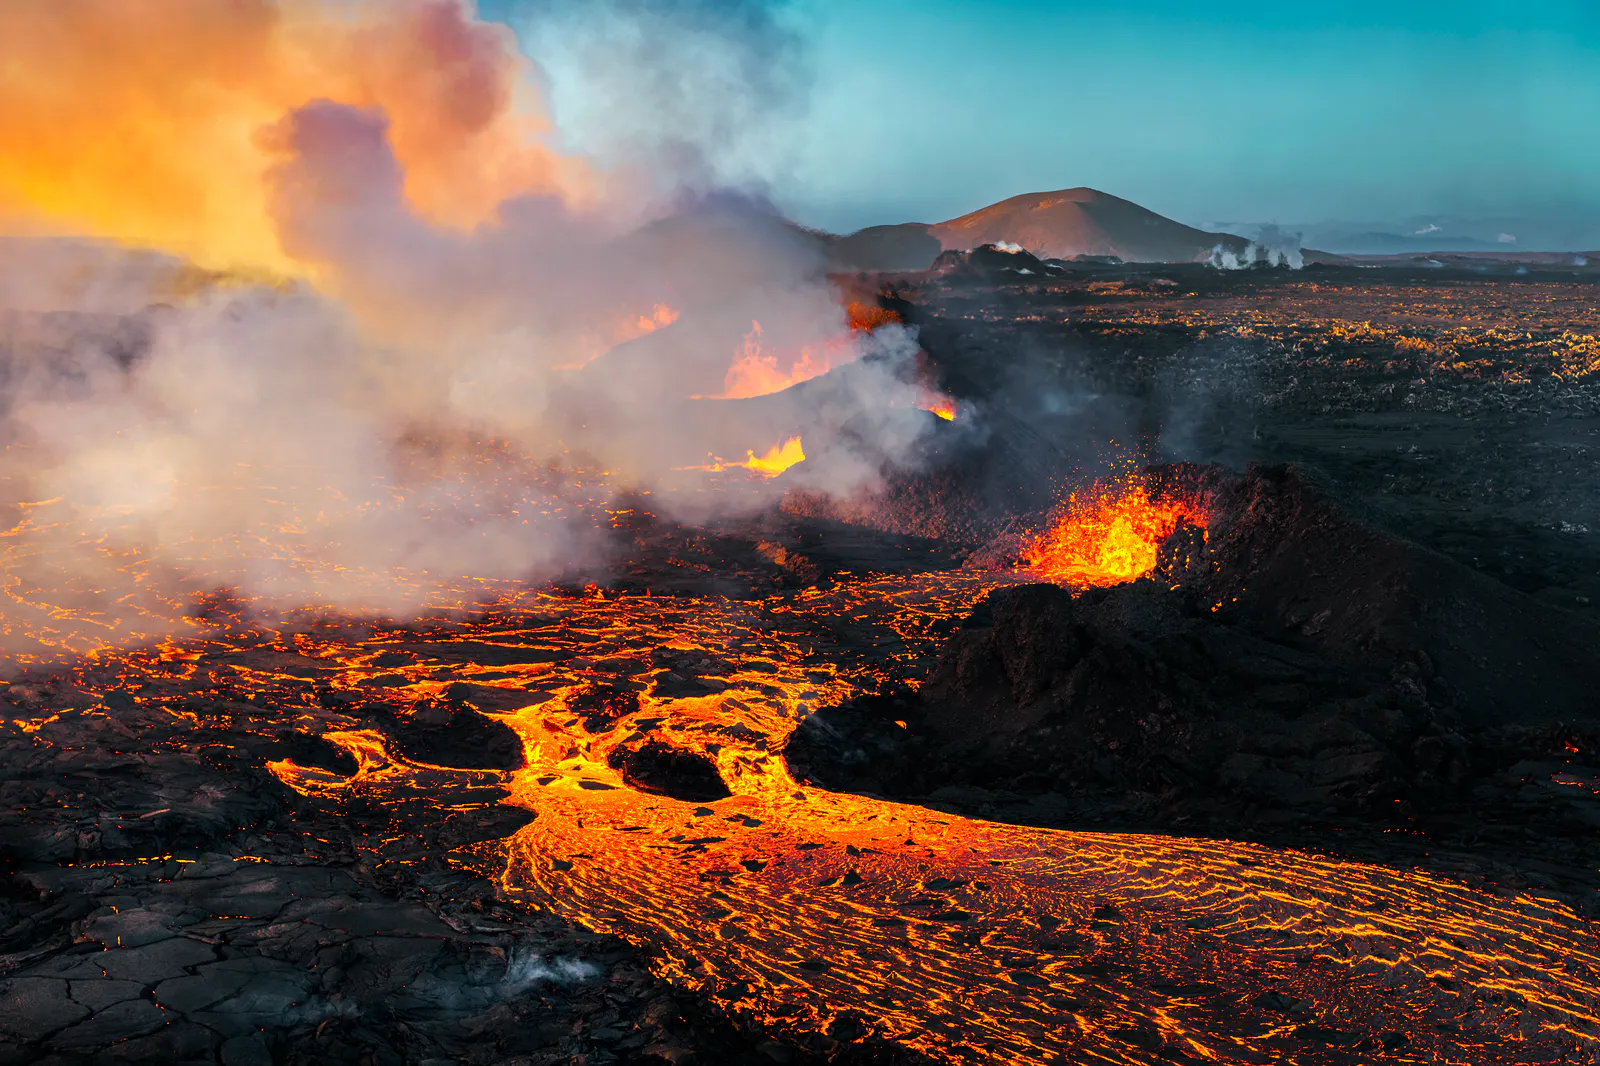
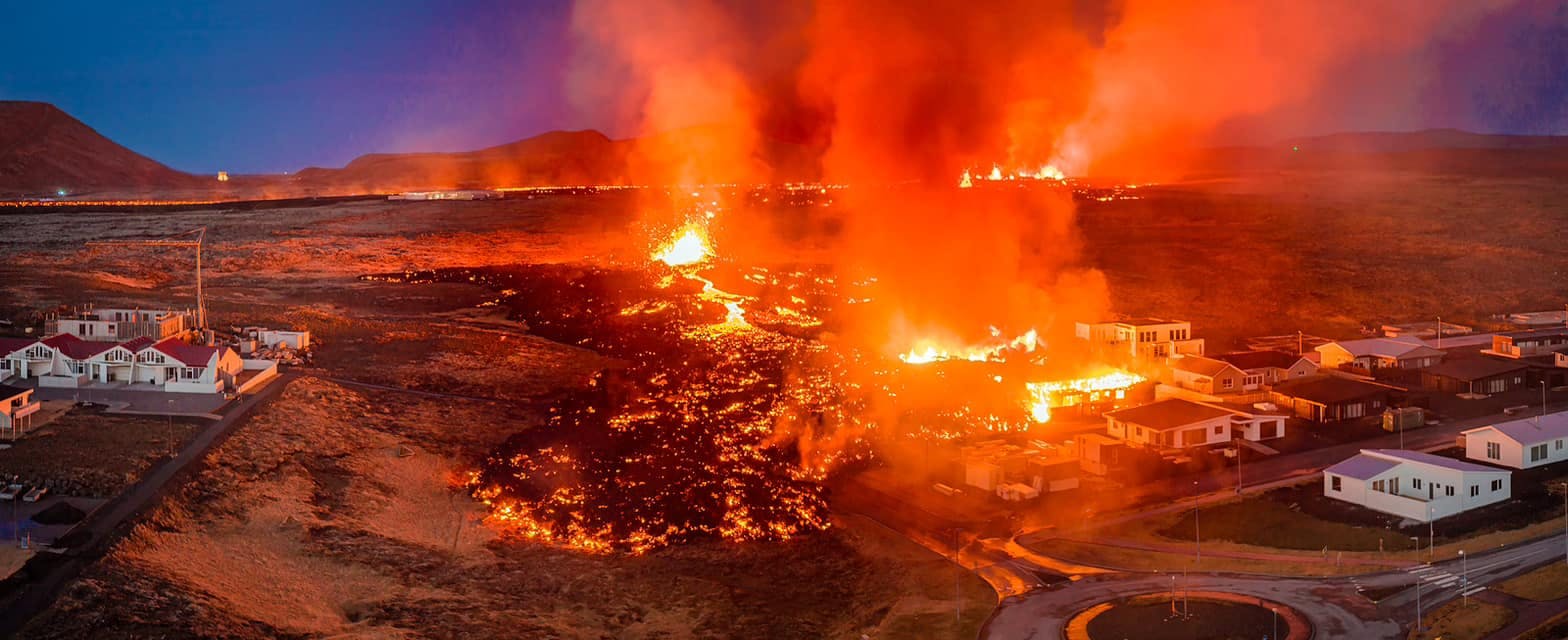
Let's Talk About the Volcano in Iceland About to Erupt
Is a volcano in Iceland about to erupt? Here’s what travelers should know about Svartsengi, Reykjanes activity, flights, safety, and the Blue Lagoon.
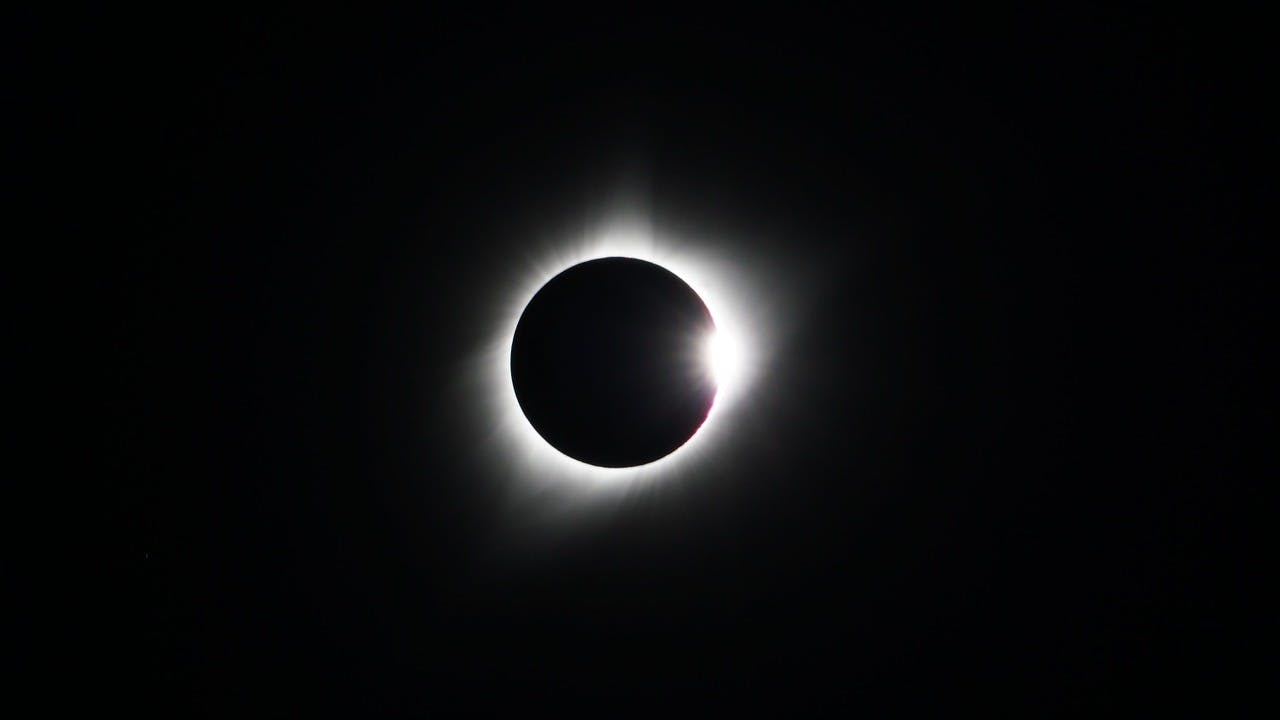
Guide to the Solar Eclipse 2026
Plan your trip to witness the Solar Eclipse 2026 in Iceland! Discover the best viewing spots, key times, safety tips, and travel advice for this rare celestial event.
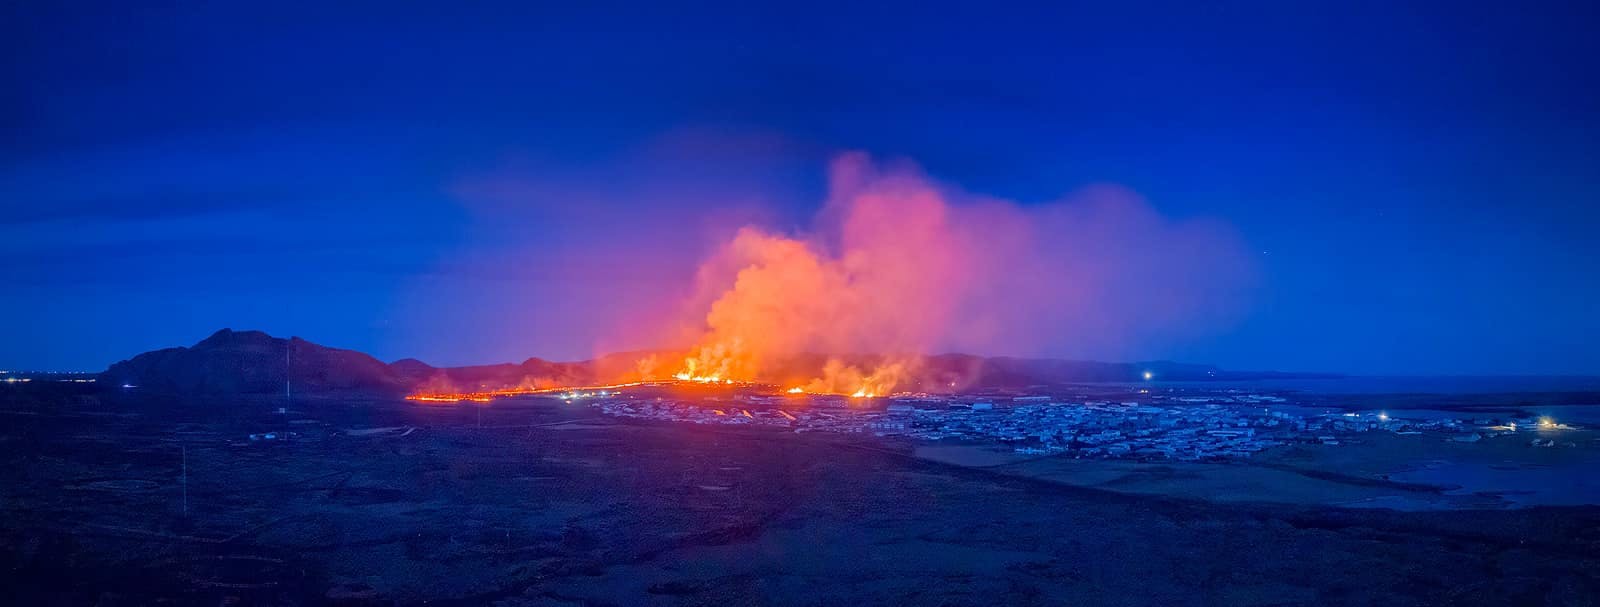
July 2026 updates on the Sundhnúkagígar Eruption in the Reykjanes Peninsula!
The current eruption in the Reykjanes Peninsula, is called Sundhnúkagígar Crater Row. See insights on the seismic activity and volcanic eruptions in the area!
Active Volcanoes in Iceland 2026
Active volcanoes aren't the same thing as active eruptions. A volcano can be considered active even when it is not ejecting ash, rock, gases and magma, so which are active in Iceland in 2026?

Top 10 Places To See the Northern Lights in Iceland
You can see the northern lights across the country, but some spots are more suitable than others. Find the best place to see the northern lights in Iceland.
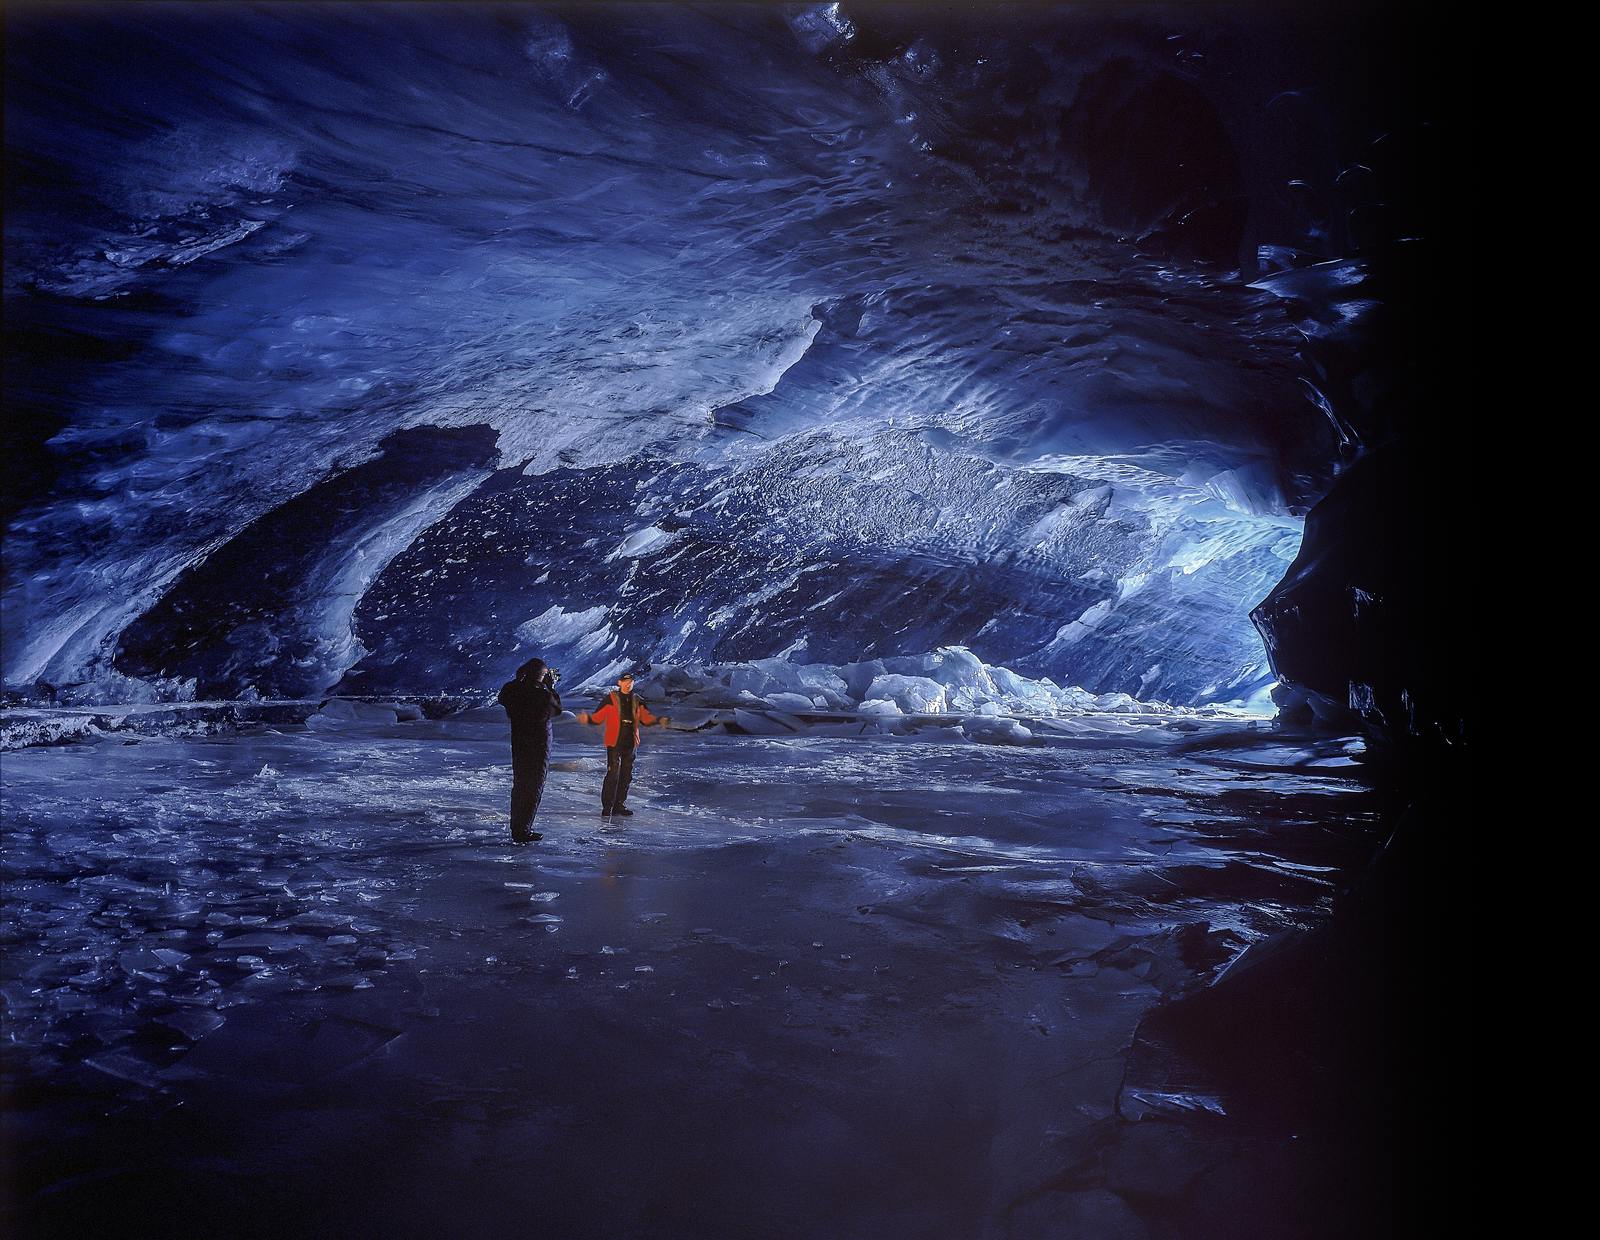
Ice Caves From Reykjavik
Travel beyond the capital for a closer look at an ice cave under one of Iceland’s glaciers. If you can’t spare the time, experience Perlan’s ice cave in Reykjavik.